How to Connect to VPN and DRAC for Dedicated Servers
Note: We use a VPN to secure access to the DRAC for a dedicated server. The VPN logins are the same email address and password that you use to access your Client Area.
Older servers (M610 / R710 or older) use a console plug-in which requires a specific legacy Java version (Java 7 "7u79"). If the console can't be changed to use HTML5, you will need to install this specific Java version from the Oracle website to use the console.
How to Connect to DRAC using Windows
Step 1 - You will need a VPN client. We recommend OpenVPN: https://openvpn.net/community-downloads/
Step 2 - Download and save the Digital Pacific OpenVPN profile from: https://mirror.digitalpacific.com.au/dp-internal/digitalpacific.ovpn
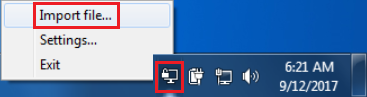
Step 3 - Right click the OpenVPN tray icon and choose "Import file...", then locate the digitalpacific.ovpn file and import it.
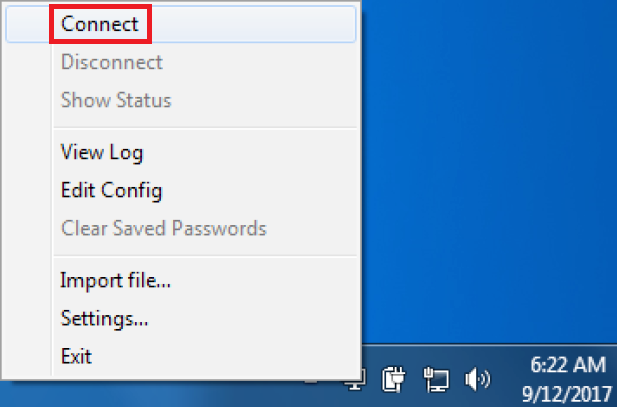
Step 4 - Click the OpenVPN tray icon again and choose "Connect".
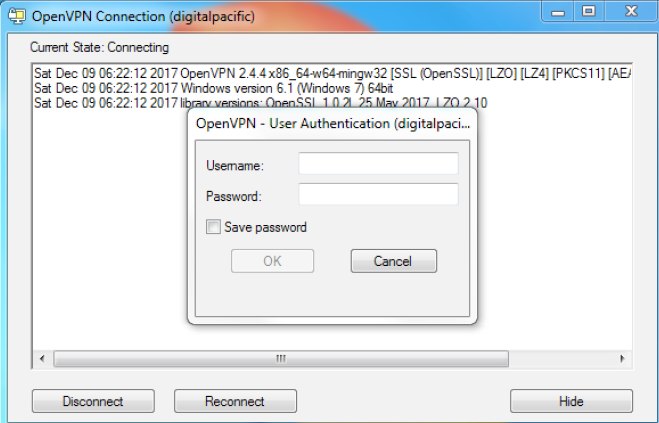
Step 5 - You will be prompted for a username and password. Enter your Client Area username and password here.
Once the connection is successful, the tray icon will turn green.

You are now connected and should be able to access any of the server's DRAC IPs which are tied to this Digital Pacific account.
How to Connect to DRAC using Mac
Step 1 - You will need a VPN client. We recommend Tunnelblick: https://tunnelblick.net/downloads.html
Step 2 - Download and save the Digital Pacific OpenVPN profile from https://mirror.digitalpacific.com.au/dp-internal/digitalpacific.ovpn
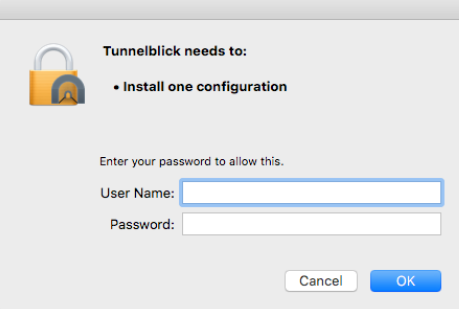
Step 3 - Load the configuration file by dragging and dropping it on the Tunnelblick icon 
in the top menu bar. You will be prompted to enter your Mac's username and password to authorise Tunnelblick to install the configuration.
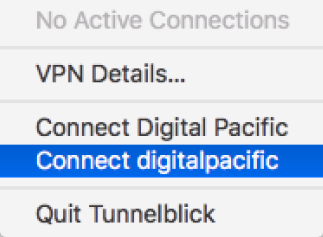
Step 4 - Click the Tunnelblick icon and choose "Connect digitalpacific".
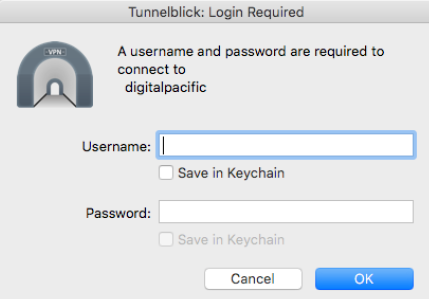
You will be prompted for a username and password, enter your Digital Pacific username and password here.
Upon successful connection the Tunnelblick icon will turn black 
You are now connected and should be able to access any of the server's DRAC IPs which are tied to this Digital Pacific account.
How to Connect to DRAC using Linux
Step 1 - Install openvpn, using either of the following methods:
Yum (Redhat/CentOs/Fedora/etc)
yum install openvpn
APT (Debian/Ubuntu/etc)
apt-get install openvpn
Step 2 - Download and save the Digital Pacific OpenVPN profile from here then go into the directory ( eg: /home/user1/downloads/ ) where you downloaded the Digital Pacific OpenVPN profile (digitalpacific.ovpn) and call it with the openvpn command.
openvpn digitalpacific.ovpn
You will be prompted for an auth username and password, enter your Digital Pacific username and password here. You are now connected and should be able to access any of the server's DRAC IPs which are tied to this Digital Pacific account.
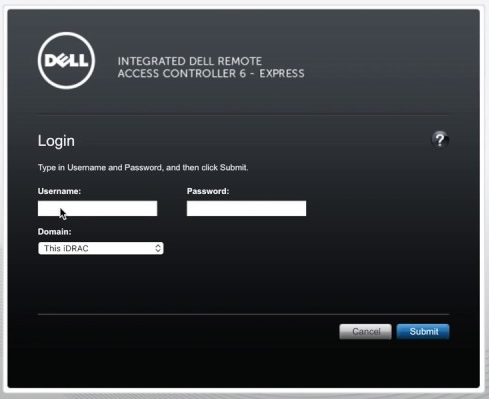
Using the DRAC interface
You should now be connected, and will be able to access any of the server's DRAC IPs. When the server was provisioned you would have received an email with your DRAC IP and logins. If you need these resent, submit a support ticket and our team can do this for you. Once logged in, you can perform management tasks such as accessing the server console and rebooting the server.
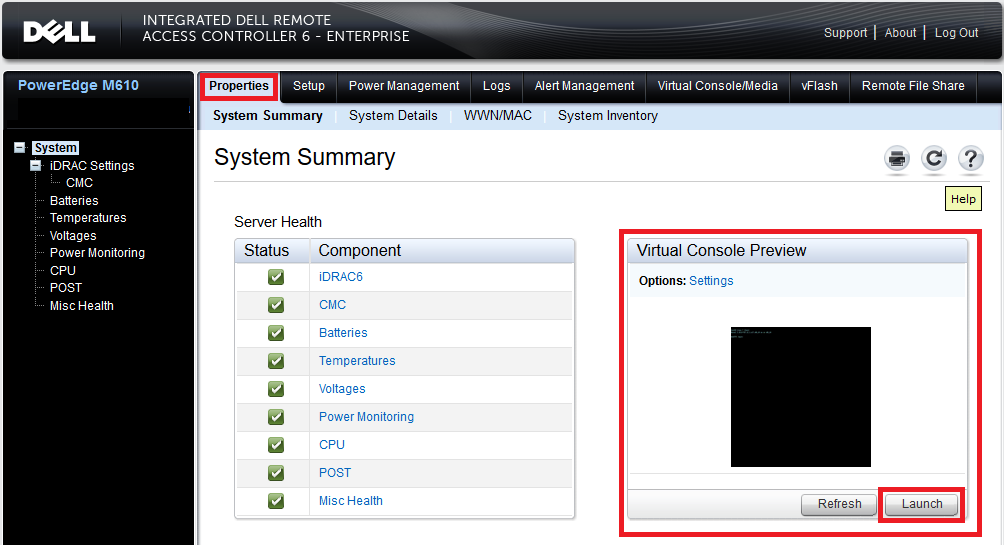
To access the server Console, navigate to Properties then select Launch under Virtual Console Preview.
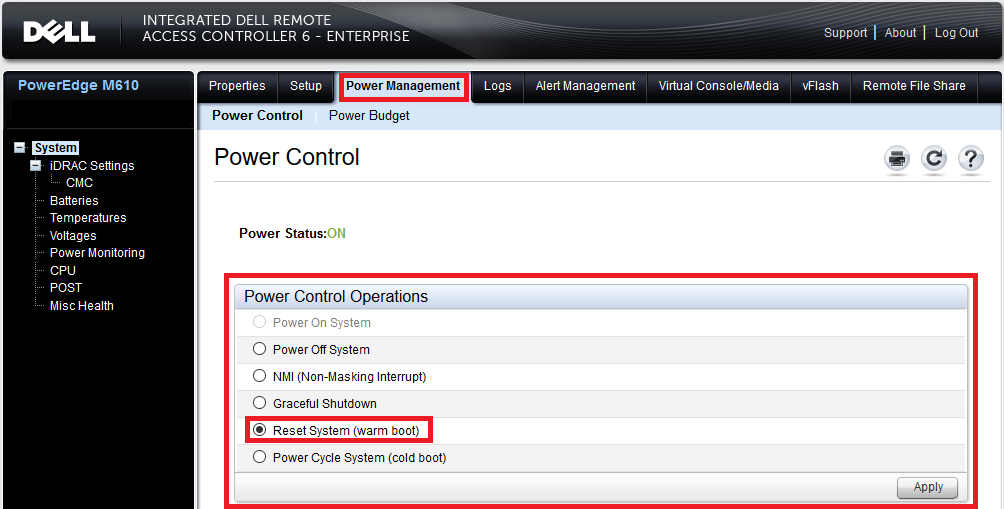
To reboot the server, navigate to Power Management, click on Reset System (warm boot), then select Apply.