How to Install LiteSpeed Cache for WordPress
Please note that the information in this guide is provided as a suggestion, and we can't provide detailed support for modifications to a Content Management System. If you require assistance with this, we'd recommend speaking to your website developer to ensure relevance and compatibility with your site.
If you're on a Personal, Business, Professional or Reseller plan, your service includes LiteSpeed, a much faster replacement for Apache. With LiteSpeed, you can use the associated LiteSpeed Cache plugin for WordPress. This caches better than Super Cache, Total Cache or other cache plugins can, as it runs on the server level rather than just the WordPress level.
If you have a VPS or Dedicated Server, feel free to submit a support ticket through your
Client Area and we can install LiteSpeed for you. There is a monthly cost with LiteSpeed (as it's a commercial product) which depends on your server specifications. We would recommend using LiteSpeed if possible, but would also recommend speaking to your developer to confirm if LiteSpeed will be compatible with your site.
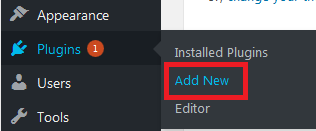
Step 1 - Log into WordPress and add a new plugin.
 Step 2 -
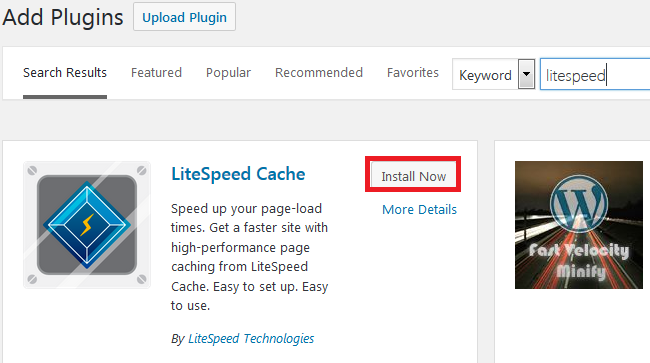
 Find the
LiteSpeed plugin and click
Install Now.
 Step 3 -
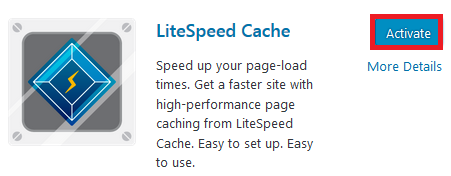
 Click
Activate to enable LiteSpeed.
The LiteSpeed plugin will add code to the .htaccess file of your site, which allows the server-side software to function. On older versions of the plugin this is not always added correctly. We would recommend using the latest version of LiteSpeed Cache, and reaching out to your developer if this is not compatible with your site.
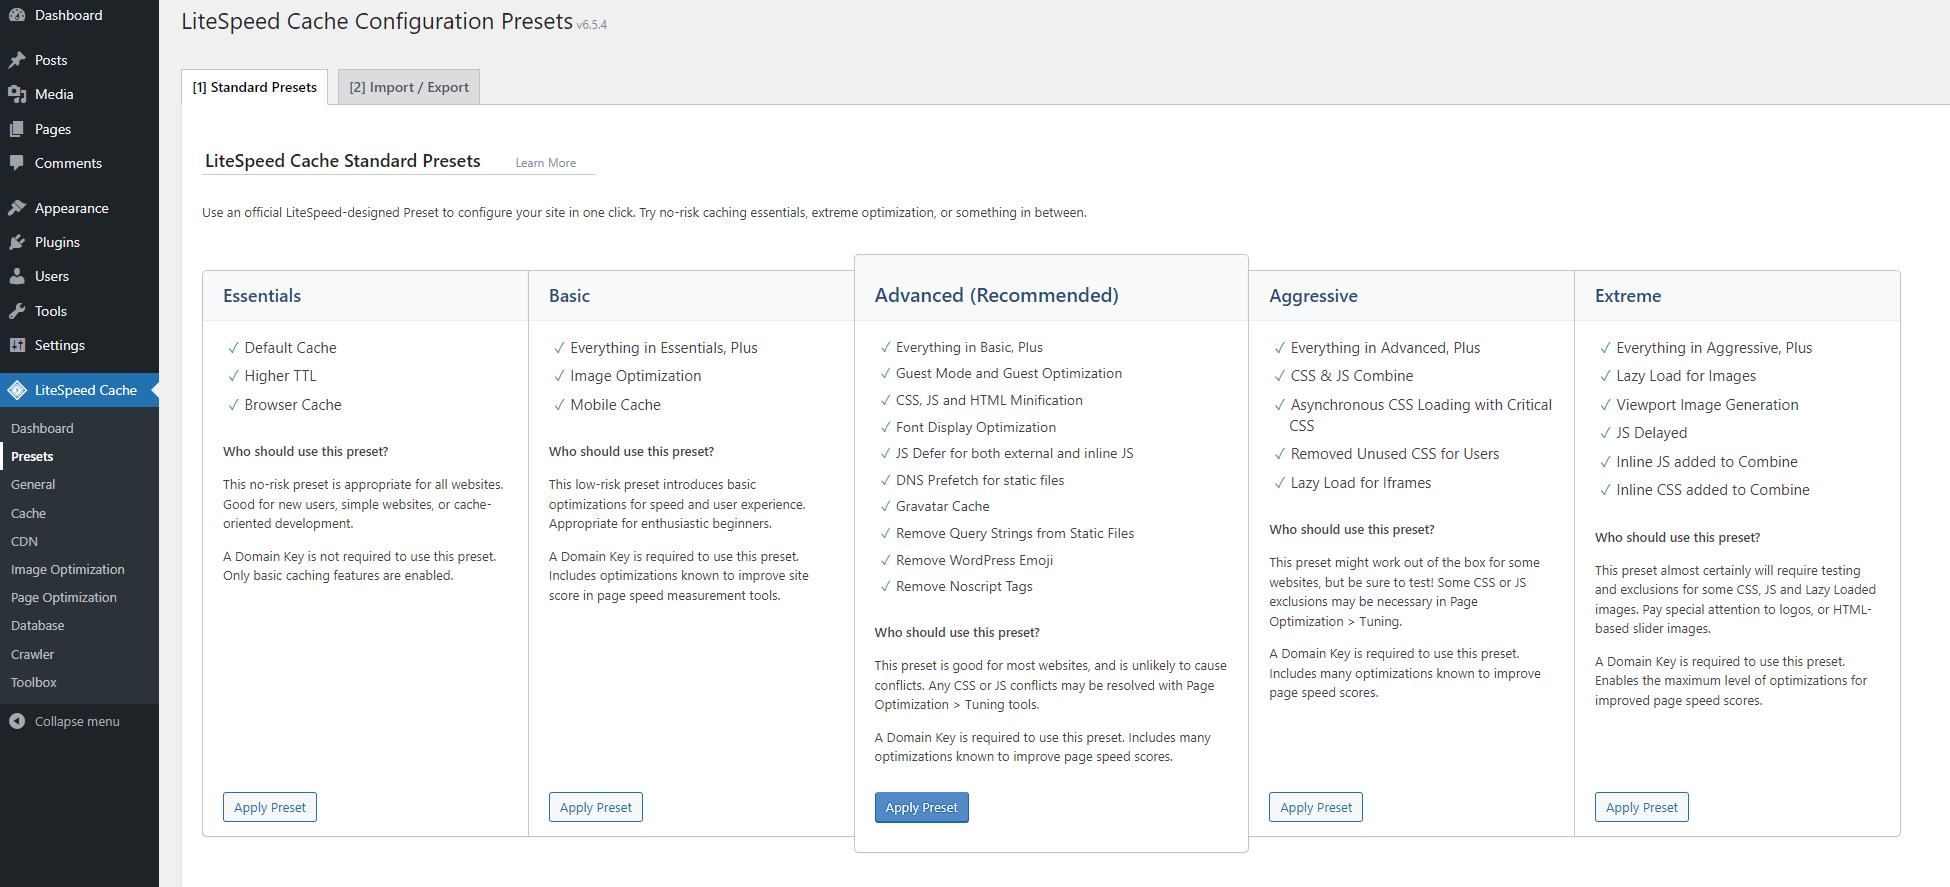
You can now access the LiteSpeed Cache plugin from the dashboard, navigate to the Presets option to select an appropriate caching preset.
Keep in mind the 'Who should use this preset?' suggestions for each preset level.
 For more tutorials on website development and Wordpress troubleshooting, view our List of Wordpress Guides.


