Connect Squarespace to Your Domain
Note: This information is provided on a best effort basis, but we can't support any issues that may arise when using SquareSpace's portal.
This guide is only valid if you're managing your DNS with us. You can confirm this by checking your Nameservers using a
WhoIs lookup on your domain. Our nameservers start with ns1.digitalpacific.com.au or ns1.auserver.com.au. If you're not using our nameservers, you'll need to contact your registrar/nameserver provider for instructions on editing DNS records.
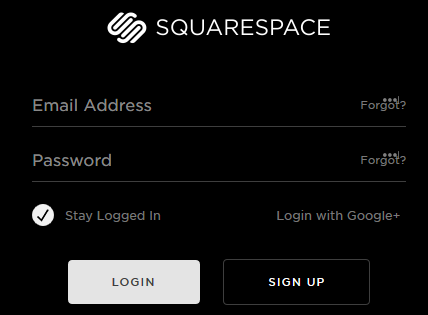
Step 1 - Log into Squarespace's portal:
https://www.squarespace.com/login
Note: Steps 1 - 8 involve getting your DNS records from Squarespace. If you already have these records, skip to
Step 9. These steps may change if Squarespace updates their portal.
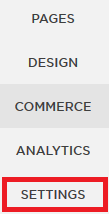
Step 2 - Click on
SETTINGS.
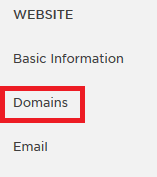
Step 3 - Click on
Domains.
Step 4 - Click on
Connect a Third-Party Domain.
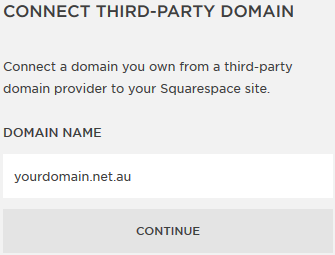
Step 5 - Enter your domain name and click
Continue.
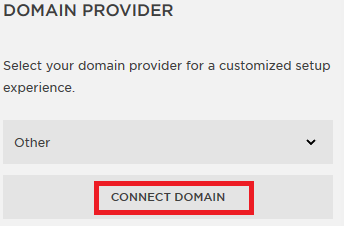
Step 6 - Select Other as your domain provider and hit
Connect Domain.
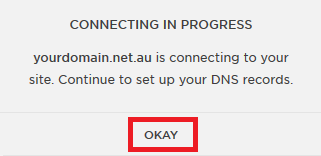
Step 7 - Click
Okay.
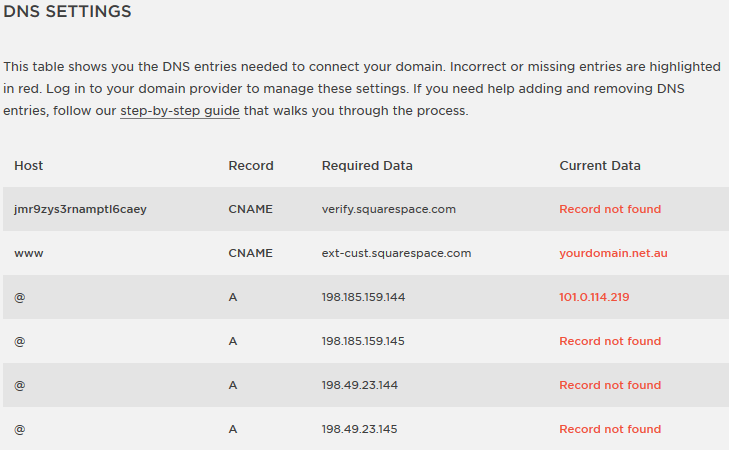
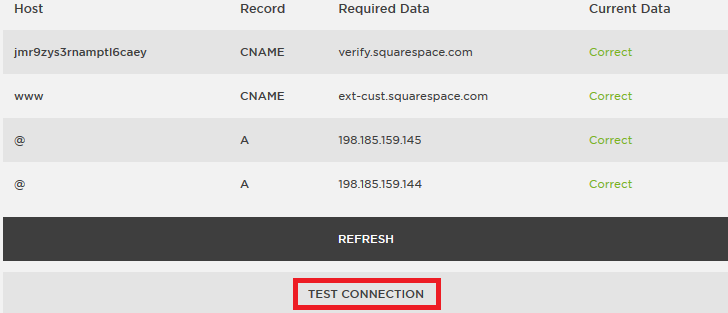
Step 8 - Note your DNS settings. Keep this page open for the remainder of the guide.
Step 9 - Leave that page open and create a new Tab or Window in your browser.
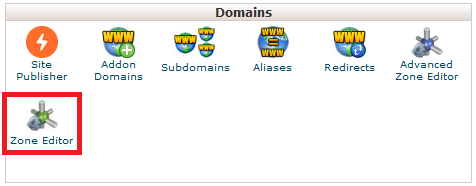
Log into cPanel, then click on the
Zone Editor.
Step 10 - Click on
Manage.
Step 11 - You will need to find and delete these two records, which will have been added by default.
(1)
(2)
Step 12 - Use
this guide to add the DNS records from Squarespace.
Step 13 - On Squarespace's site, hit refresh every few minutes. The DNS settings are normally live within 60min but they can take up to 24hrs. Once all the fields are marked in green as
Correct, hit
TEST CONNECTION and your site will be ready and pointed to Squarespace.
Should you have any problems with your Squarespace site, you can find support from Squarespace here:
https://support.squarespace.com/hc/en-us/requests/new
For more tutorials on website development and Content Management System troubleshooting, view our List of CMS Guides.