How can I restore my WordPress website on Plesk using R1Soft Restore?
Your Plesk account is automatically backed up to an external server which you can restore from. These backups are a snapshot of your files and databases that are stored in your account at the time which makes it easy to restore your website using R1Soft.
While the restore is taking place, your website will be unavailable.
Note 1: If you have
cPanel hosting, use
this guide to restore a backup of your site files instead.
Note 2: Our backups are stored for up to 30 days, but we also recommend performing downloading occasional backups of your site files and database to your local machine for long term backup purposes.
Note 3: This guide will allow you to revert your site to how it was when the backup was taken. If you are running a website that updates and stores sensitive data (eCommerce and client information) then we highly recommend consulting a website developer for further advice as you may experience a loss of information from the point the backup was taken up until the point the restore was performed.
Part 1 - Preparing the Restore Environment
Step 1 - Log into your Plesk Account.
Step 2 - Navigate to WordPress on the left side panel and click on Database in the WordPress instance you would like to restore from. Note down the Database name.

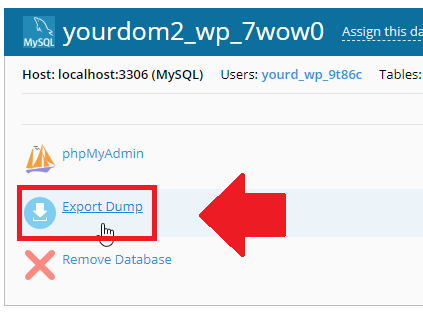
Step 3 - Click on Databases on the left side panel. Click on Export Dump on the database you noted down.
This ensures you have a backup of any database entries (such as site orders or posts) that have changed since the restore point.
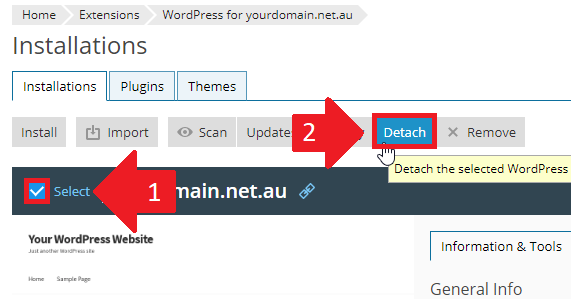
Step 4 - Navigate to Wordpress on the left panel. Select the WordPress installation name, and then click Detach.
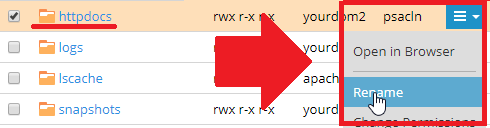
Step 5 - Navigate to your files by clicking on Files on the side panel, find the root folder of your website (if this restore is for the primary domain name, then it would be the folder httpdocs).
Step 6 - Click on the options tab on the right side of the folder and click Rename. Rename the folder - we recommend httpdocs.old-currentdate.
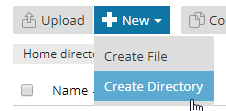
Step 7 - In the top left of the screen, select New, and then create the Directory that you have just renamed (in our example, we would create a folder named httpdocs).
This ensures the site files are cleanly restored into a blank folder.
Step 8 - Once you have created the new directory, select the original, renamed folder and click on Add to Archive - this is to ensure these WordPress site files are not detectable by WordPress Toolkit.

Part 2 - Restoring the Files
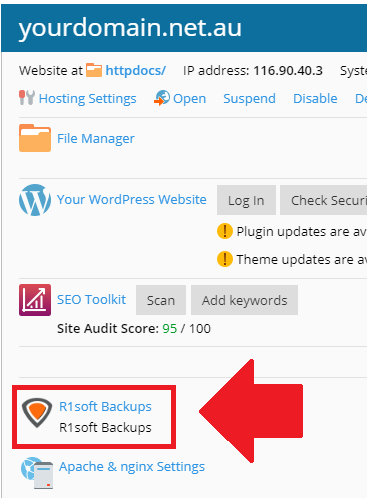
Step 1 - Navigate to Websites & Domains on the left side panel. Click on the R1soft Backups icon.
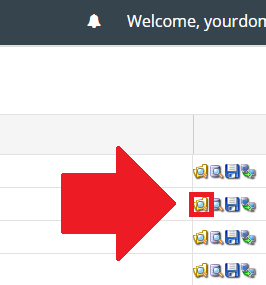
Step 2 - Find the date and time that you wish to restore from and select the corresponding Browse Files icon on the right hand side of the screen.
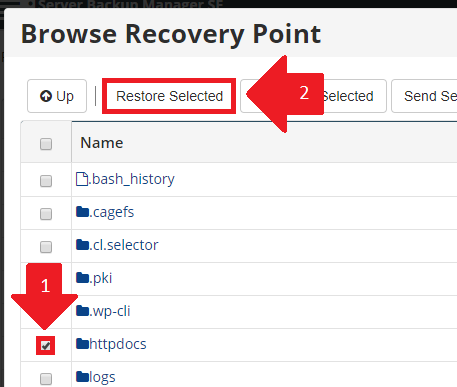
Step 3 - Double click on Home and you should see the file structure of your Plesk files area. Select the folder you wish to restore (in this example, we will be restoring the root folder httpdocs) and then click Restore Selected.
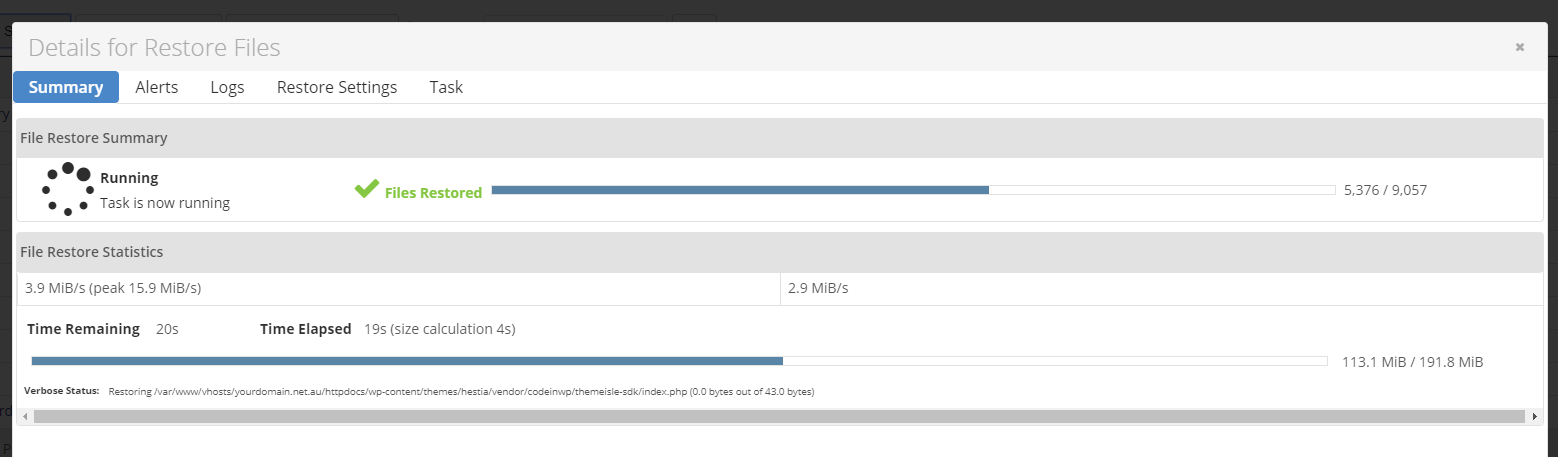
Step 4 - The restore process will now begin to restore your files, simply wait for the process to finish. Once the restore has finished, close this popup window.
Part 3 - Restoring the Database
Step 1 - From the main page of R1Soft, click on the Browse Databases icon from the required backup point. If you're also restoring site files, choose the same date and time.

Step 2 - Click on the red arrow on the left hand side to expand the selection, then select the database you noted in Part 1. Click on Restore Selected.

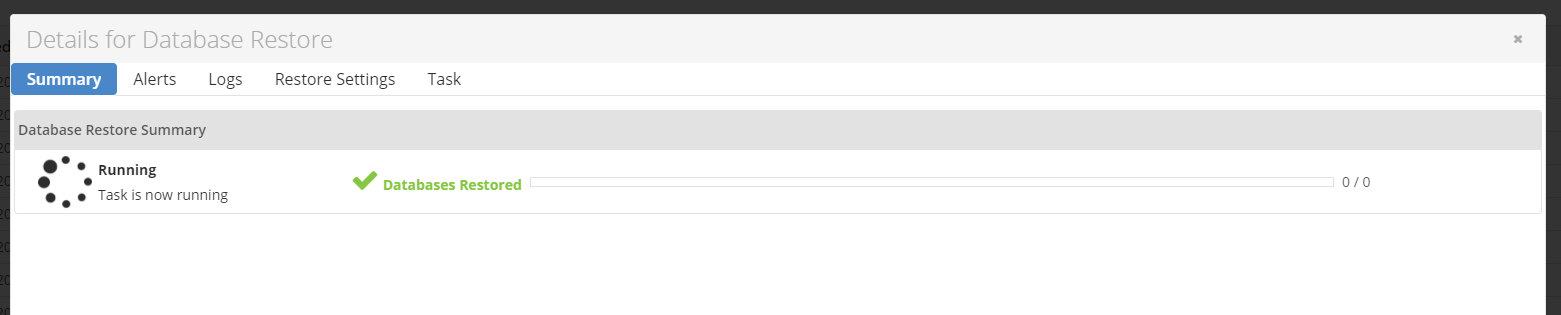
Step 3 - The restore process will now begin to restore your files, simply wait for the process to finish. Once the restore has finished, close this popup window.
Part 4 - Linking WordPress Toolkit
Once you're done with restoring the files and database, you will need to now re-attach the WordPress instance.
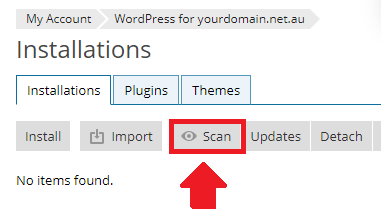
Step 1 - Go back to your Plesk account and click on WordPress on the left side panel.
Step 2 - Click on Scan to reattach your WordPress instance.
Your Wordpress site should now be loading as it was at the time this restore was taken. If the website still does not load correctly, we'd recommend restoring from an earlier backup point or contacting your developer.


