How to add SPF, DKIM and DMARC records
These records are designed to properly authenticate emails that you send, lowering the chances they'll be sent to Spam or Junk folders. For a more in-depth explanation, see
this guide.
Note: DNS records normally propagate and start working between 15min-4hrs after you update them, but in rare cases can take up to 24hrs.
How to enable SPF and DKIM
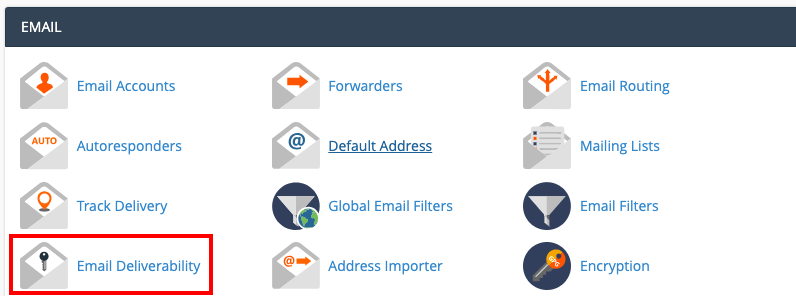
Step 1 - Log into cPanel and click on Email Deliverability.
Note: If you do not see this option, follow the section below for How to enable SPF and DKIM Pre-cPanel 78.
Step 2 - Find the domain you want to enable SPF and DKIM for, and click on Manage.

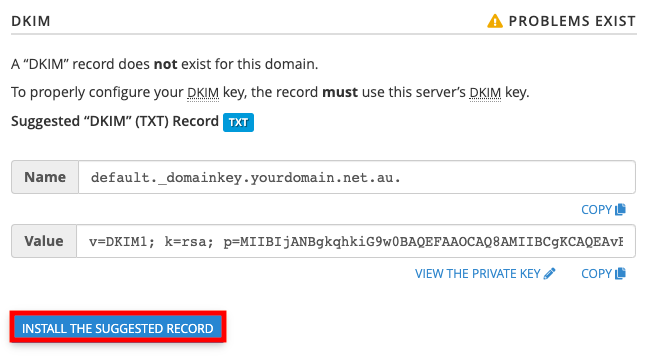
Step 3 - Underneath the heading DKIM, click on Install the Suggested Record.
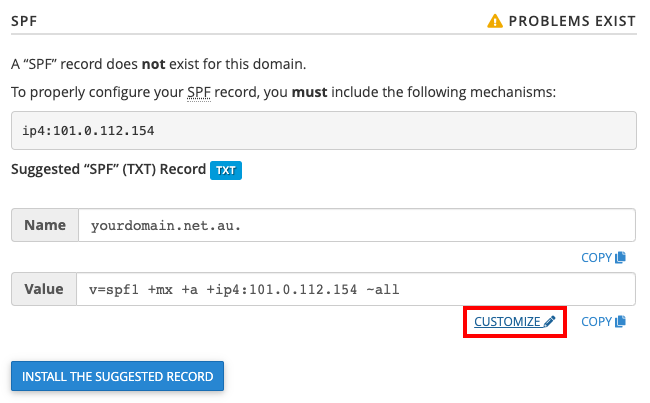
Step 4 - After the DKIM record is installed, underneath the heading of SPF, click on Customize.
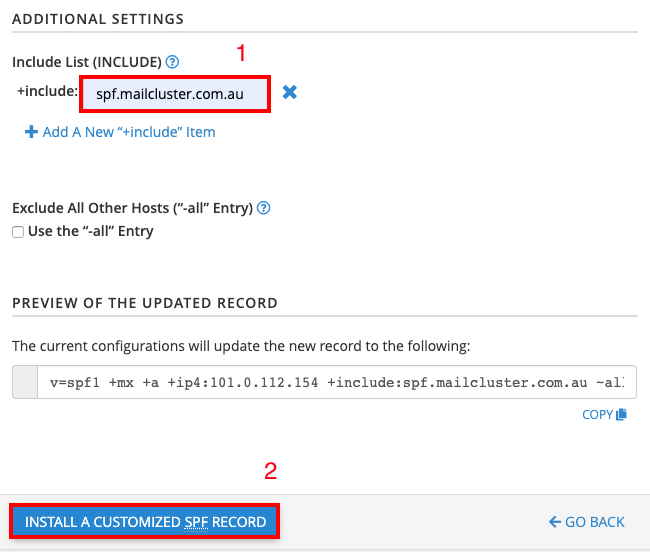
Step 6 - Under the heading Additional Settings:
(1) Include "spf.mailcluster.com.au". If you have been asked to add other "+include" items like '_spf.google.com', use the 'Add a New +include Item' option.
(2) Click on Install a Customized SPF Record.
How to enable SPF and DKIM Pre-cPanel 78
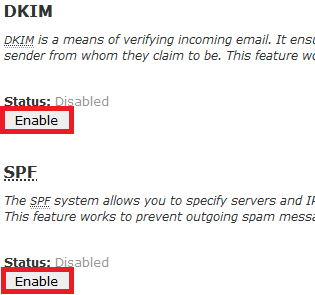
Step 1 - Log into cPanel and click on Authentication.

Step 2 - Click Enable for both DKIM and SPF.
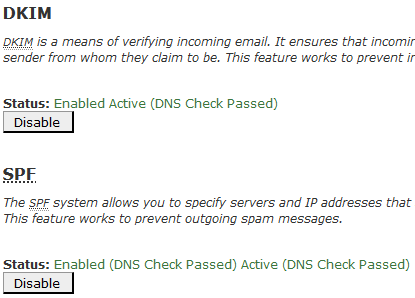
Note: If you get a warning or error initially, wait 15 minutes and refresh the page by pressing f5 (windows) or command+f5 (mac). Once enabled you will see the below screen. Note that if you're using a Web Hosting, Reseller or Managed VPS hosting service, this is not the final step.
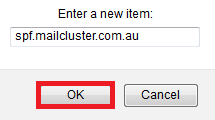
Step 3 - Scroll down to find Include List (INCLUDE) and click on Add.

Step 4 - Type spf.mailcluster.com.au and click OK.
Step 5 - If you have been asked to add other "+include" items like '_spf.google.com', Repeat steps 3-4. Otherwise, scroll down to the bottom of the page and click Update.

How to enable DMARC
Before you add a DMARC record, make sure you have enabled SPF and DKIM.
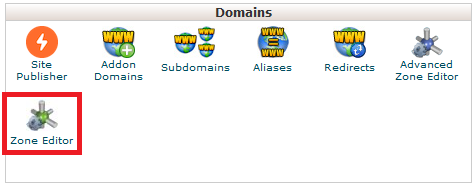
Step 1 - Log into cPanel and click on Zone Editor.
Step 2 - Click Manage for the domain you want to add the DMARC to:

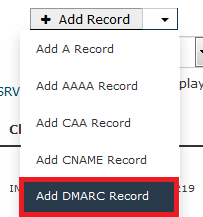
Step 3 - Click +Add Record then Add DMARC Record.
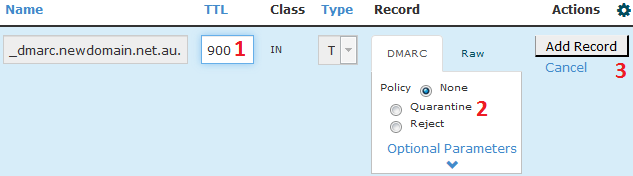
Step 4 - Confirm the DMARC settings:
(1) Set the TTL to 900.
(2) Select how you want the DMARC record to act:
None: Treat failed SPF emails as normal.
Quarantine: Send failed SPF emails to a SPAM/Junk folder.
Reject: Reject failed SPF emails completely.
(3) Click Add Record.
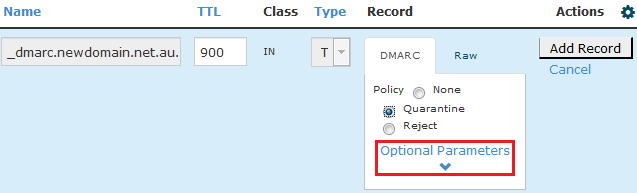
(Optional) How to Add An Advanced DMARC Record
Add a DMARC record as you would in the basic guide, but instead of clicking Add Record, click Optional Parameters first. Once DMARC configuration is complete, click Add Record.
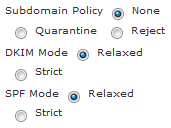
Subdomain Policy: Set how the DMARC record applies to email accounts with subdomains.
DKIM and SPF mode: Setting either of these to Relaxed will allow the DKIM/SPF of a subdomain to pass the check if the DKIM/SPF record is for a different subdomain of the primary domain (or the primary domain itself). Setting to Strict means that the DKIM/SPF must match the exact DKIM/SPF of the specific subdomain.
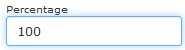
Percentage: Sets the percentage of emails which DMARC will check. It's best to leave this at 100.
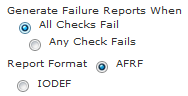
Generate Failure Reports When: Sets which emails are included in the DMARC failed emails. Select All Checks to only include emails that fail all SPF/DKIM checks. Select Any Check to include emails that fail some, but pass other checks.
Report Format: It's best to select ARFR here as it has been specifically designed for DMARC reports.
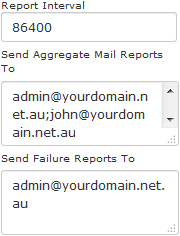
Report Interval: Sets how often a report is sent (86400 seconds is default, which is 24hrs).
Send Aggregate Mail Reports To: Set which email accounts receive complete DMARC reports (including success, failures and partial failures).
Send Failure Reports To: Set which email accounts receive reports of emails which failed DMARC.