How to set up email Aliases in Office 365
If you would like all mail for 'example@yourdomain.net.au' to be delivered to the email account for admin@yourdomain.net.au, you can set this up using an Email Alias.
Note: When the user replies, the
From address will be the primary email address.
Step 1 - Log into your Office 365 Management Area.
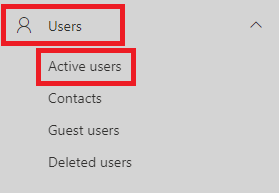
Step 2 - Select
Users then
Active Users.
 Step 3 -
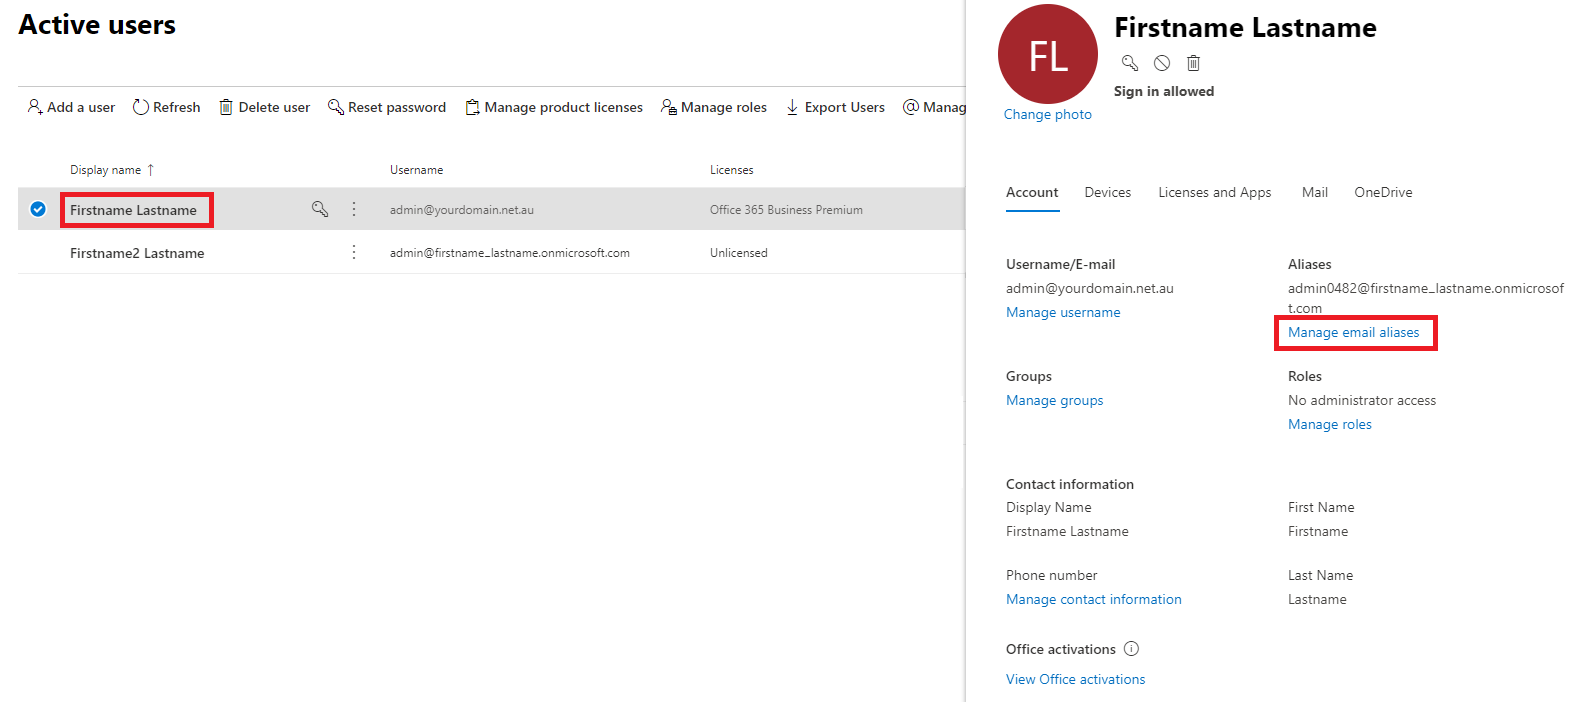
 Click on the user in question, then select
Manage email aliases. You won't see this option if the person doesn't have a license assigned to them.
 Step 4 -
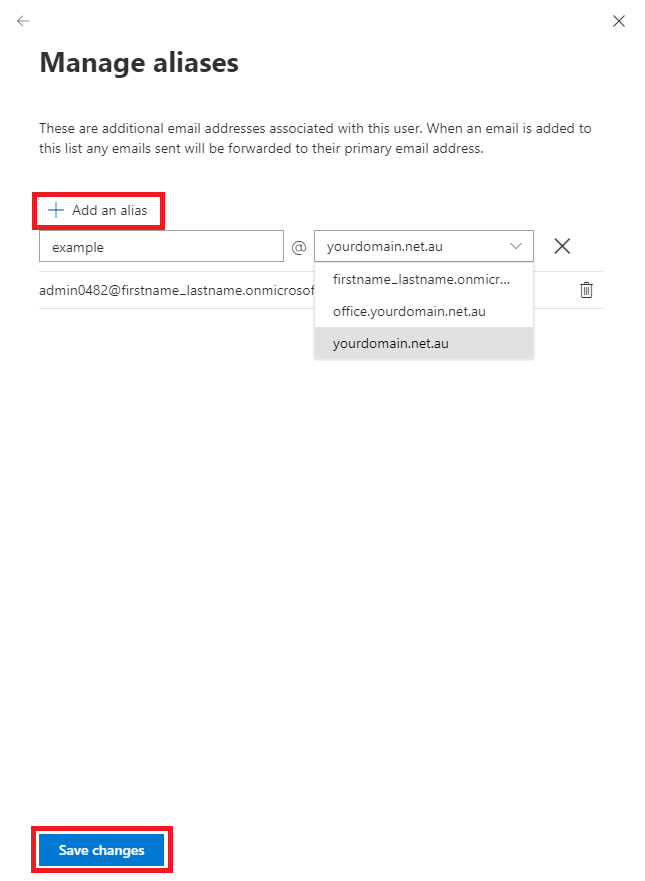
 Select
+ Add an alias and enter a new alias for the user, confirming the domain you'd like to use. If you'd like to use a domain that's not in this list, you can add it
here.
Save Changes once done.
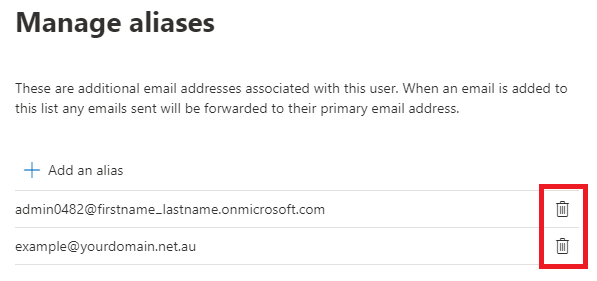
Once the Alias is added, you will see a confirmation notice as below.

If you need to remove these Aliases in future, you can
follow steps 1-3 and then use the
Delete icon on the
Manage Aliases page.
 For more information and tutorials on Office 365, see our Getting Started guide. You can also view Microsoft's guide on the subject here.


