Migrate emails to Office 365 using IMAP
Note that this is an advanced guide and may take 1hr+ to complete. The basic process is to create a CSV file containing usernames and passwords, configure a connection from Office 365's admin area to your IMAP server, then provide it with your list of usernames and passwords to copy across emails.
We are also able to assist you with these migrations if the Office 365 account is managed through us - we'd charge $49 per mailbox to perform an IMAP Sync. If you'd like us to manage this for you,
reach out to our support team with the usernames and passwords of the accounts you'd like to migrate.
Create a list of Usernames and Passwords
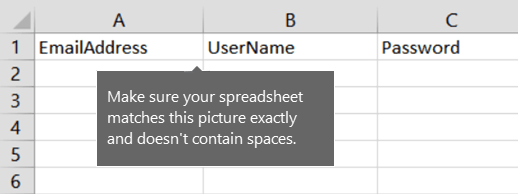
Step 1 - Open up Excel or Google Sheets, and create a new file that looks like this. This must match the picture exactly, must not contain spaces, and is CASE SENSITIVE. The exact heading names are:
- EmailAddress in cell A1.
- UserName in cell B1.
- Password in cell C1.
Step 2 - Enter your email account details for each mailbox you want to migrate:

More specifically:
- Column A is the email address of the
Office 365 mailbox. This is what is shown in the
username column under Users > Active users in the Microsoft 365 admin centre.
- Column B is
the username for the user's email account on the source email system. For cPanel and most mailboxes, this is the full email address.
- Column C is the password for the user's
email account on the source email system. Note that the password for the Office 365 account is not used.
If you haven't created users in the Microsoft 365 admin area yet, you can use this guide to do so.
If you don't know the users' current passwords, you'll need to reset them to passwords that you do know, and then enter those passwords in the migration file. We also have a guide on how to reset an email password in cPanel.
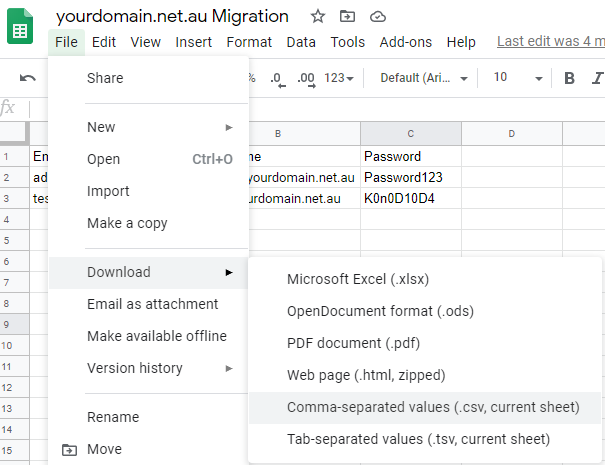
Step 3 - Export the file in '.csv' format, then close Google Sheets or Excel.

Configure the Migration Endpoint
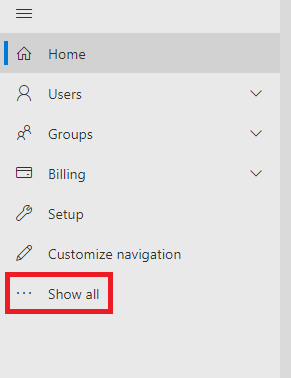
Step 4 - Log into your Office 365 management area, then click on Show All on the left menu.
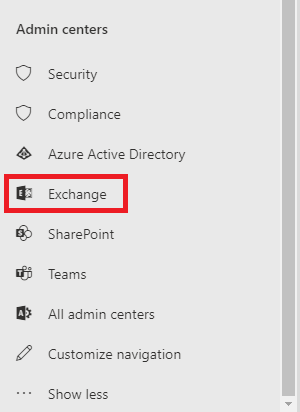
Step 5 - Select Exchange under Admin Centers to access the Exchange Admin area.
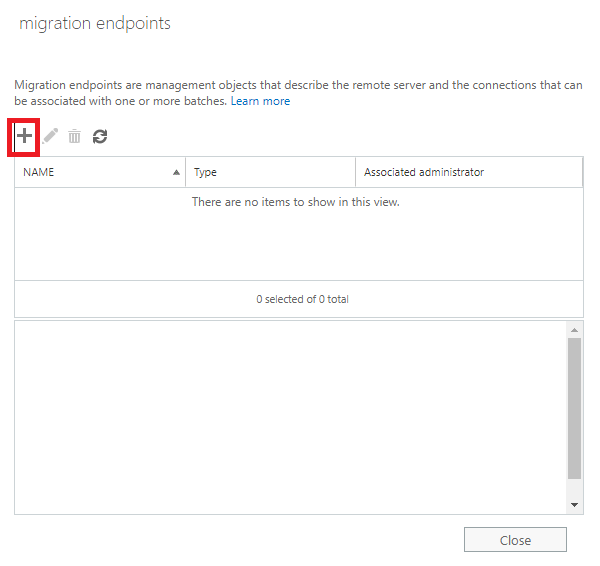
Step 6 - Navigate to Recipients > Migration > ... > Migration endpoints. This will open in a new window.

Step 7 - Click New+ to create a new Migration endpoint.
Step 8 - Choose IMAP and select Next.

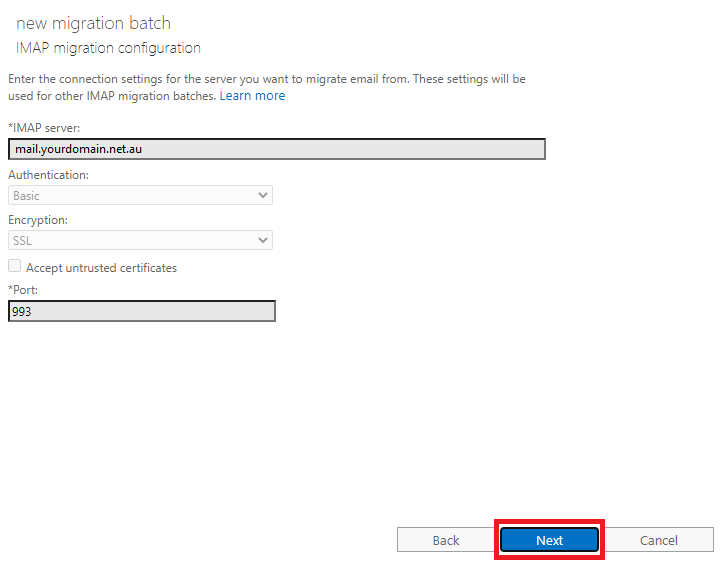
Step 9 - Enter your IMAP connection settings. To find these, see our guide on finding General Email Settings.
If possible, use your server name (e.g. vmcp01.auserver.com.au) rather than "mail.yourdomain.net.au", as this will not be affected if you need to perform a resync of your emails post-migration. The migration service then uses the settings to test the connection to your email server. If the connection works, the Enter general information page will appear.

Step 10 - Enter a name for the endpoint and leave the other boxes blank to use the default values, then select New.

Create a migration batch
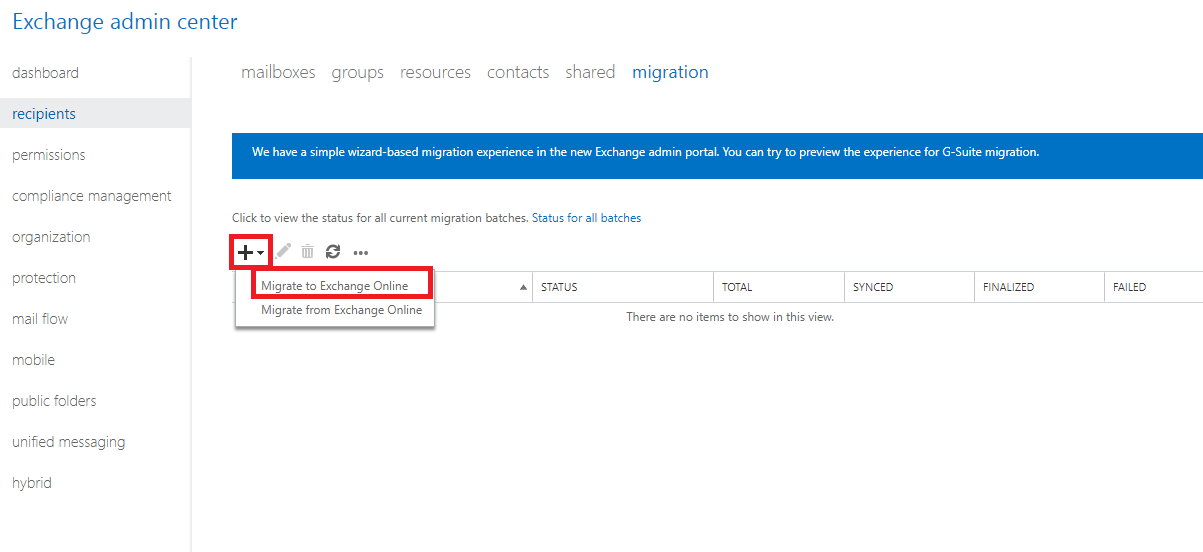
Step 11 - From the Exchange Admin Center select New+ then Migrate to Exchange Online.
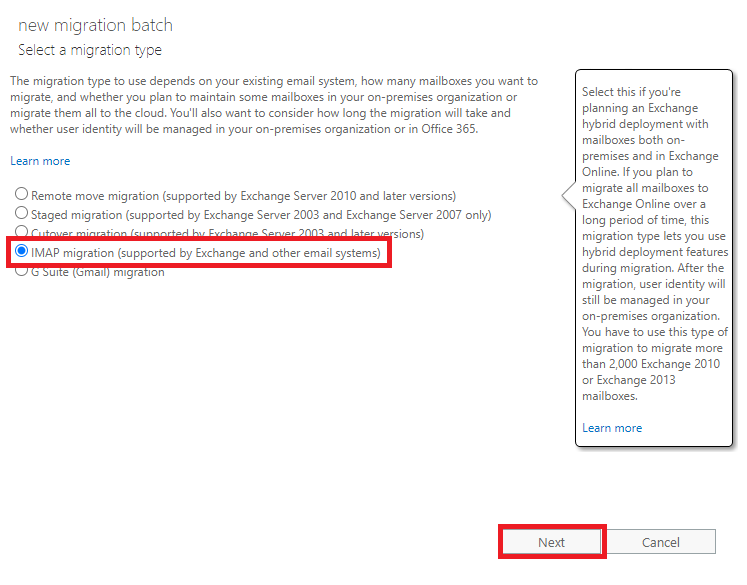
Step 12 - Select IMAP Migration, then click Next.
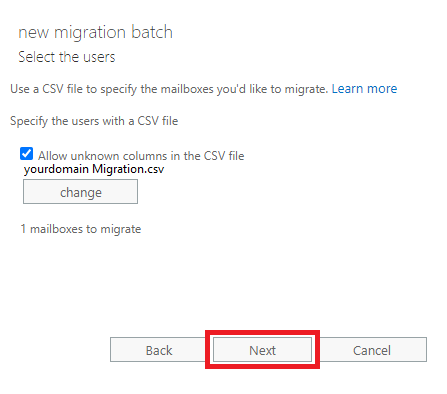
Step 13 - Upload the migration CSV file you created. After you upload the file, Office 365 checks it to confirm that:
- It is not empty.
- It uses comma-separated formatting.
- It contains less than 50,000 rows.
- It includes the required attributes in the header row.
- It contains rows with the same number of columns as the header row.
If any one of these checks fails, you'll get an error that describes the reason for the failure. If you get an error, you have to fix the migration file and resubmit it to create a migration batch. Once the checks pass, select the option to Allow unknown Columns in the CSV file if prompted, and then select Next.
Step 14 - Your IMAP endpoint should be automatically selected - if not, you can select it here. Click Next.
Step 15 - Create a name for your migration batch, without any spaces or special characters. The default migration batch name that's displayed is the name of the migration file that you specified. You can also optionally enter the names of the folders you want to exclude from migrating, for example Shared, Junk Email, and Deleted. Click the + icon to add them to the excluded list.
Select Next once done.

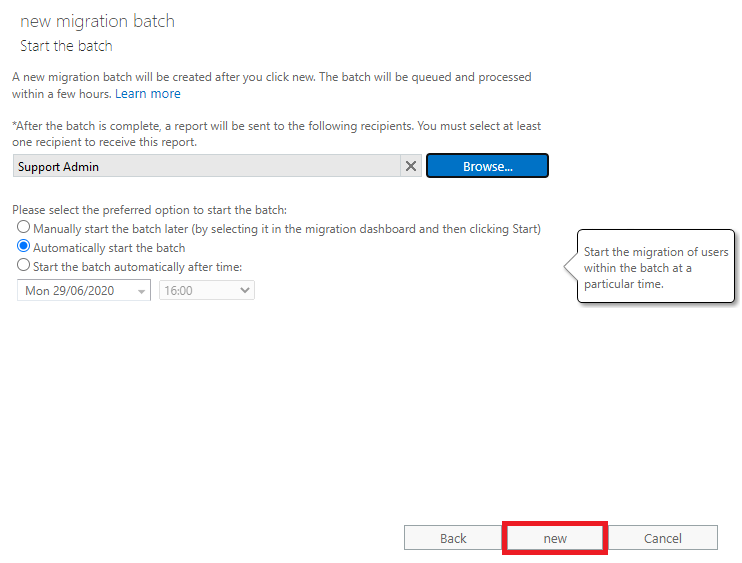
Step 16 - If you would like the migration reports emailed to a specific user, you can use the Browse button to specify this. Otherwise, leave Automatically start the batch selected, then click New to start the IMAP Sync.
The batch status is first Created and changes to Syncing after the migration starts.
For more information and tutorials on Office 365, see our Getting Started guide.


