How to purchase Office 365
Note: Your domain is not requested during the ordering process. Instead a unique Microsoft subdomain is generated for your initial login, and during Office 365 setup you can specify any domains to use.
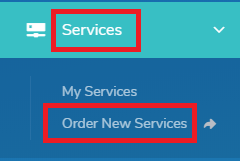
Step 1 - Log into your
Client Area and select
Order New Services.
 Step 2 -
 Select
Email then
Office 365.
 Step 3 -
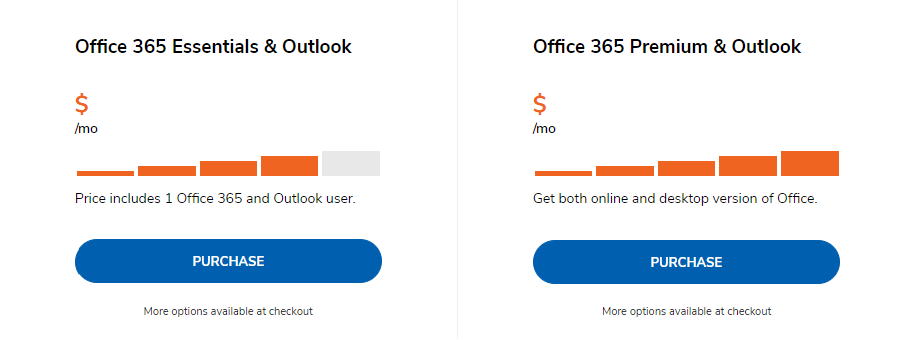
 Choose between the Essentials and Premium plan, then select
Purchase. The main difference is that the Premium plan comes with desktop versions of the Microsoft apps.
 Step 4 -
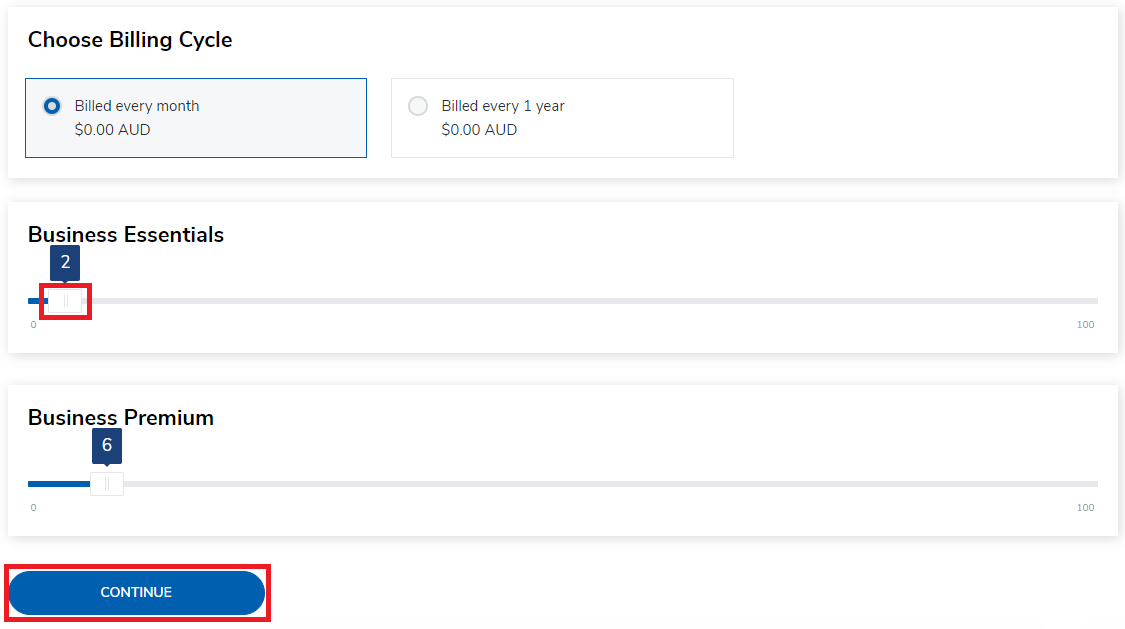
 From the
Configure Your Product screen, change the number of Licenses by dragging the slider as required. Click the '
Continue' button when done.
 Step 5 -
 Complete the checkout process. Once the Office 365 account is created, you will be sent an email with the login details for your Office account.
At this point, you can
send us a support ticket confirming which email addresses you'd like to set up, or use
this guide to complete the setup yourself.
For more information and tutorials on Office 365, see our Getting Started guide.


