Activating my SSL certificate manually for a non cPanel server or an external server
Step 1 - Generate a 1024 character CSR (Certificate Signing Request) and private key on your server. You will need to store the private key in a safe place, and provide the CSR to us. A CSR will look something like the following:
 Step 2 -
 Log into your
Client Area, enter your username and password, and click on
Login.
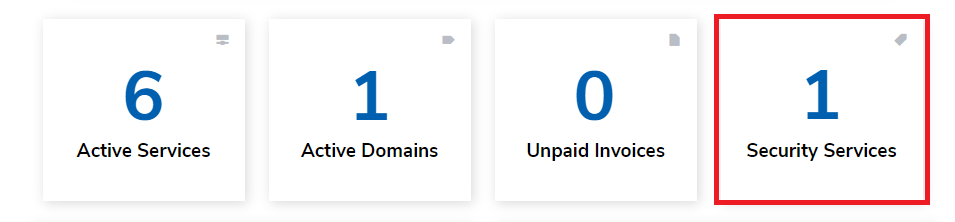
Step 3 - Click on
Security Services.
 Step 4 -
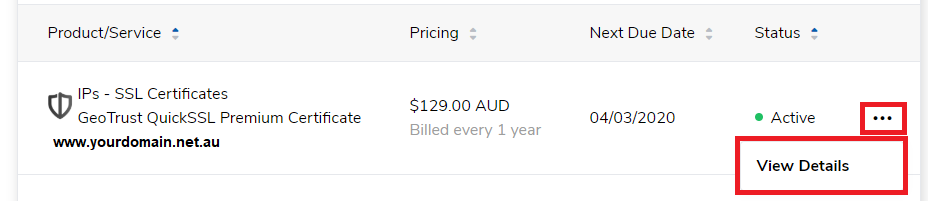
 Click
View Details next to the SSL Certificate you would like to install.
 Step 5 -
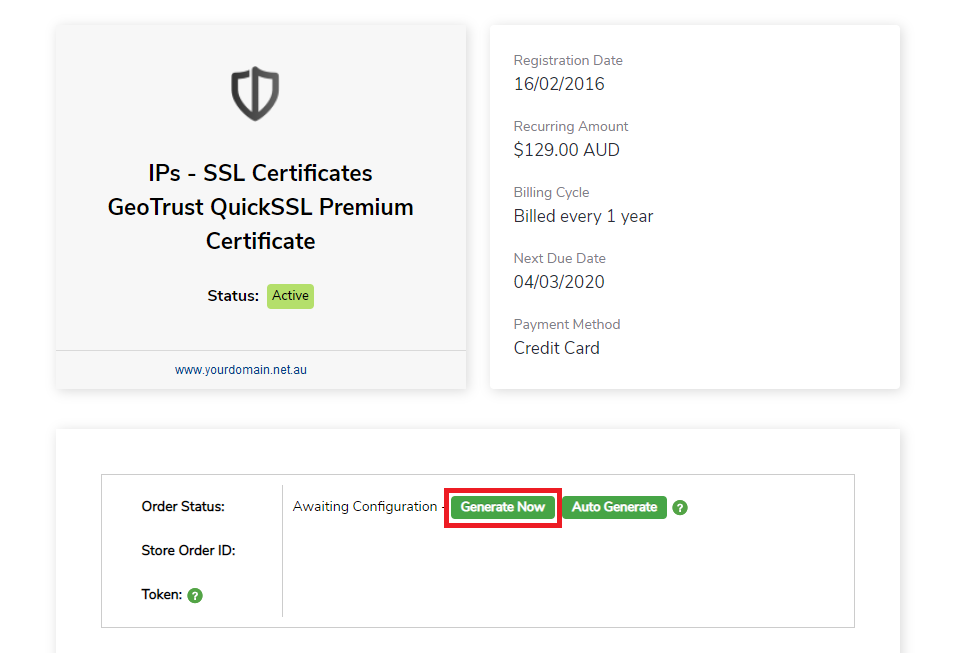
 Click
Generate Now to begin the setup for the SSL certificate.
 Step 6 -
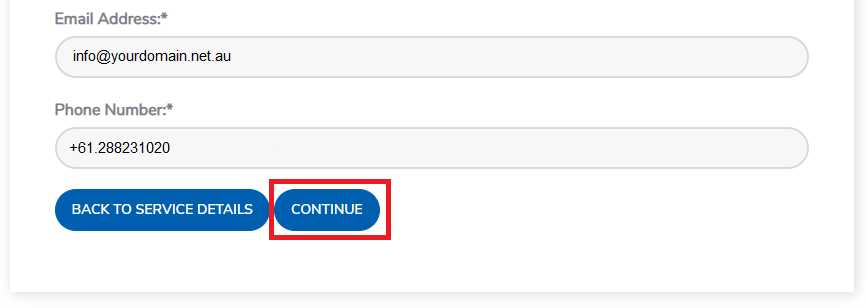
 Enter your CSR and your other SSL details. You will need to enter in the following details:
Note: You can use the same details for Tech and Admin contacts.
Select your Web server:
Signature Algorithm: (This would be SHA2 by default, but your server may require a different algorithm).
Site Admin and Tech contact:
- Title:
- First Name:
- Last Name:
- Email Address:
- Phone Number:
Step 7 - Once these are filled out, click the
Continue button.
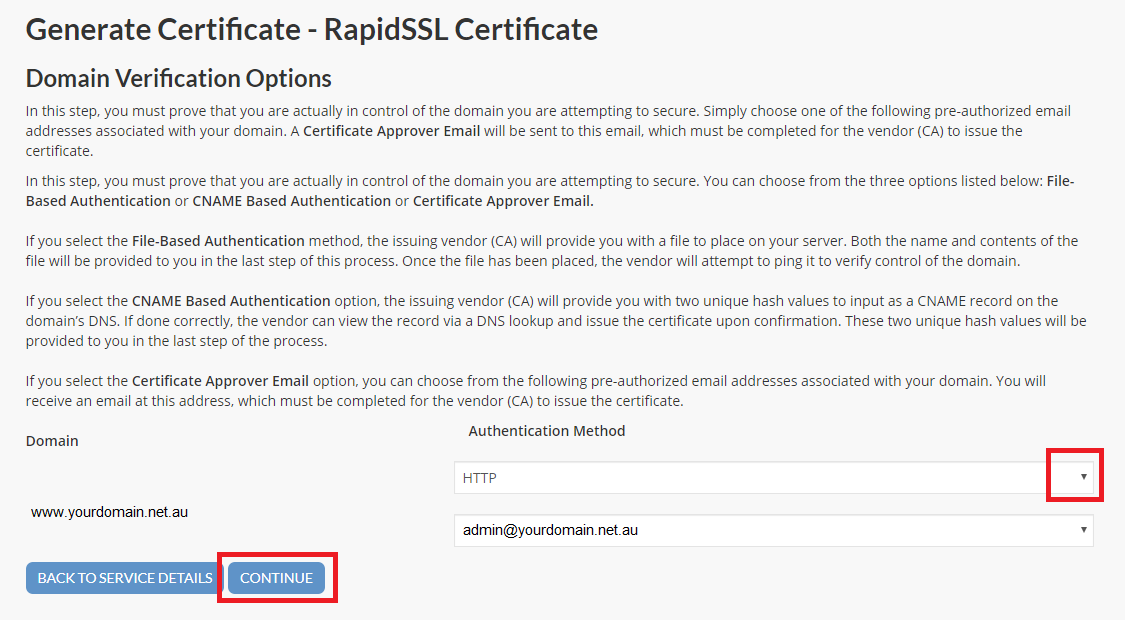
 Step 8 -
 The SSL will then need to undergo validation. You will get an option to either complete File-based, DNS-based or Email authentication. You can change the authentication type by using the dropdown list, then click
Continue.
 Step 9 -
 You will get a screen with information on how to complete the type of validation method.
Note: The certificate is not active at this stage. You will need to complete validation and check your SSL Summary page again.
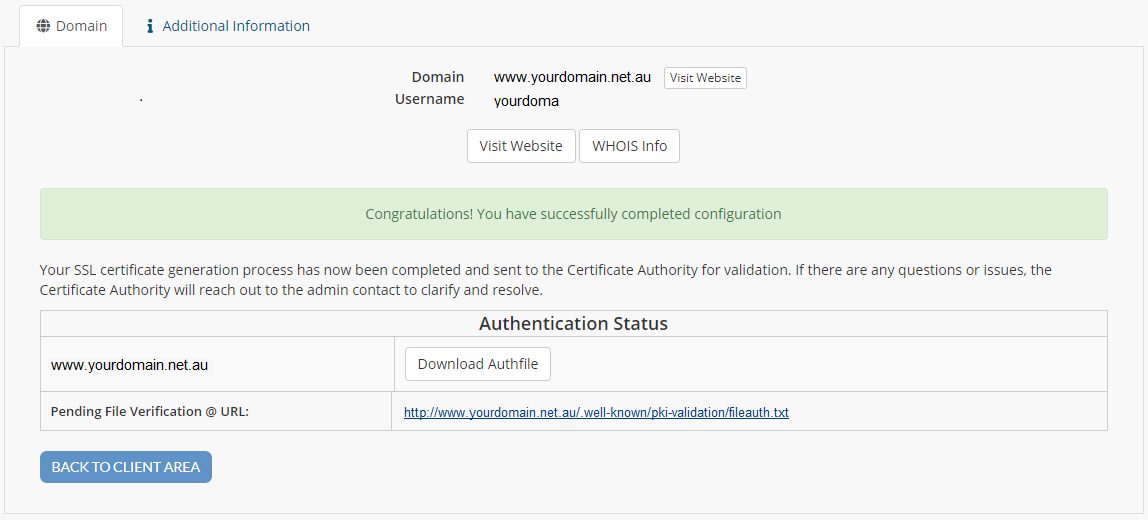 Step 10 -
 If using file-based authentication, create a folder structure
/.well-known/pki-validation/ under the website's document root at your external hosting. Download the Authentication file by clicking the
Download Auth File button and upload it to the server in the appropriate folder. Once this is done, you should be able to view the contents of the file at the URL provided.
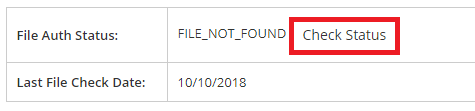
Step 11 - Once the validation step is complete,
repeat steps 2-4 to access your SSL Summary page. Click on
Check Status, which will query your website for the fileauth.txt.
 Step 12 -
 The page should now refresh, and contain information on your Active certificate. If it does not, we'd recommend waiting for 30 minutes and clicking
Check Status again.
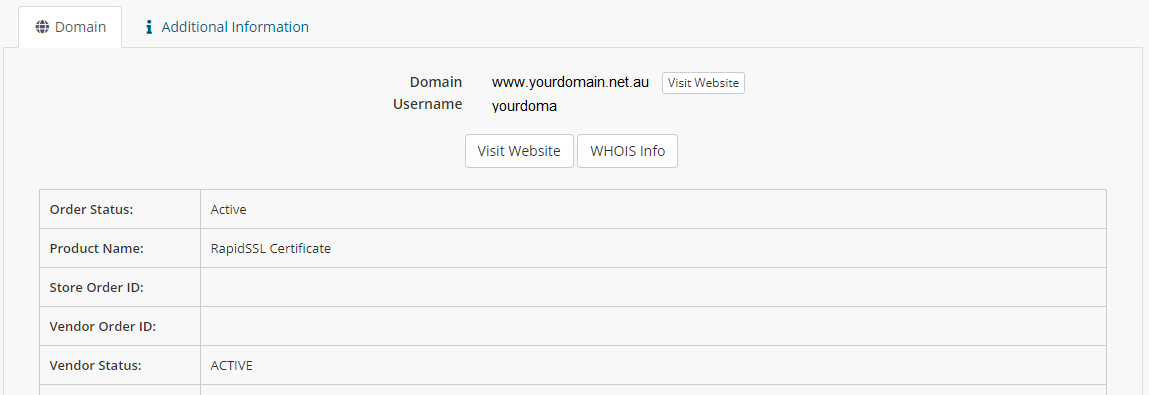
Down the bottom of this page, there is an option to download the Certificate files, and also to reissue the certificate if necessary. Click
Download Certificate.
 Step 13 -
 Provide this Certificate folder to your external host along with your Private key.
For more information and tutorials on SSL Certificates, see our SSL Guide Repository.


