Setting up my cPanel VPS (WHM)
Once you have ordered, paid for, and received the login details for your cPanel VPS you will be able to run through the set-up for WHM (Web Host Manager).
Step 1 - Log into WHM. Click '
I Agree/Go to Step 2'.
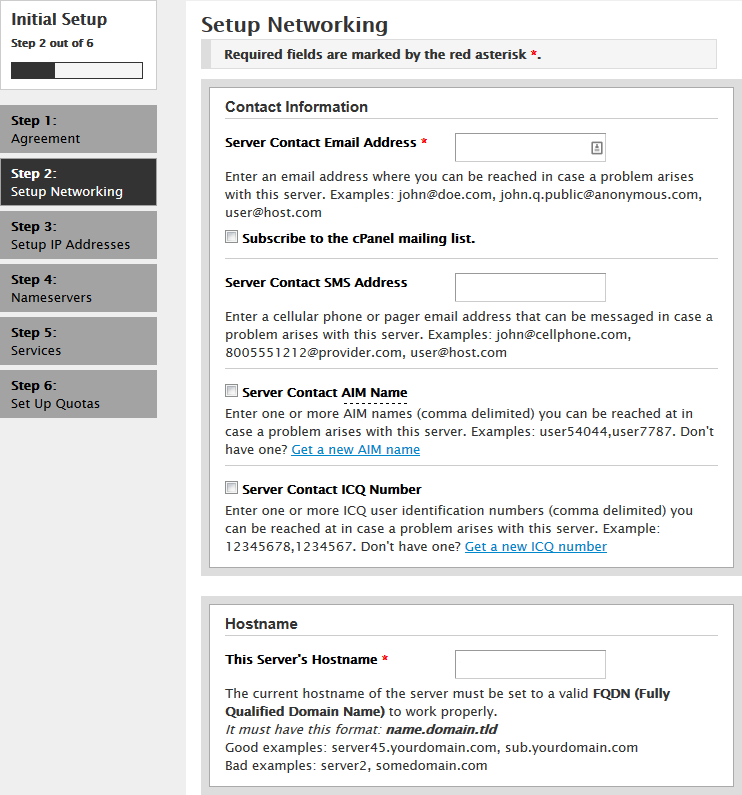
 Step 2 -
 In the '
Server Contact Email Address' field enter your email address. Ensure the name in '
This Server's Hostname' ends with a valid domain name. Click '
Save & Go to Step 3'.
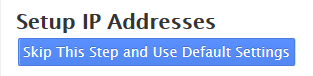
 Step 3 -
 Click '
Skip This Step and Use Default Settings'.
 Step 4 -
 Scroll down and click '
Save & Go to Step 5'.
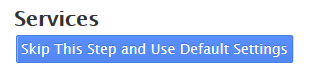
 Step 5 -
 Click '
Skip This Step and Use Default Settings'.
 Step 6 -
 Click '
Finish Setup Wizard'.
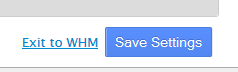
 Step 7 -
 If you are not redirected to
WHM itself, click the '
Save Settings' button and you will be automatically redirected.
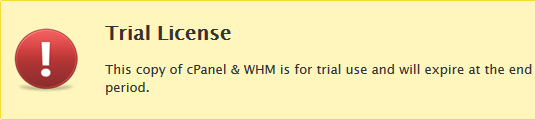
 Step 8 -
 If you see the following warning about a Trial Licence, then your installation of cPanel has not been licensed yet. Please
submit a request to get it licensed.
 Step 9 -
 You will now be able to access WHM and start creating your cPanel accounts. You can follow this
Getting Started guide to do so.


