How to Clean and Optimise The WordPress Database
Cleaning up the Database is a great way to improve your website speed and reduce the database size. By having a smaller database, finding data in the database becomes easier and faster. After completing this guide, you may be able to
further optimise the database through phpMyAdmin.
Please note that the information in this guide is provided as a suggestion and we can't provide detailed support for modifications to a Content Management System. If you require assistance with this, we'd recommend speaking to your website developer to ensure relevance and compatibility with your site.
Clean The WordPress Database
The WP-Sweep plugin cleans the WordPress Database. It removes database entries for things like deleted/spam/unapproved comments, metadata and draft data. Make sure to check that you don't have any draft content you need before running this plugin.
Step 1 - Log into WordPress, then Install and Activate the WP-Sweep plugin.

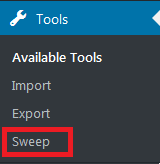
Step 2 - Click on Sweep under the Tools section.
Step 3 - Take note of this warning. This process is unlikely to cause any trouble, but it's a good idea to be prepared, just in case.
- If you have a Personal, Business, Premium or Reseller Hosting account with us click here for a guide on using our backups to restore the database should things go wrong.
- If you have a Managed VPS, submit a support ticket through your Client Area and we can do the restore for you.
- Backups on Dedicated Servers are optional, submit a support ticket if you're unsure and we can resend the login details to you.
- Alternatively, you can backup the database directly from phpMyAdmin as seen here.

Step 4 - Scroll down to the bottom and click Sweep All. if your database is large, this may take a few minutes to complete.

Add Indexes To WordPress
Adding Indexes to WordPress (specifically, the wp_options table) is an easy way to reduce the size of WordPress sites with a large amount of themes/plugins.
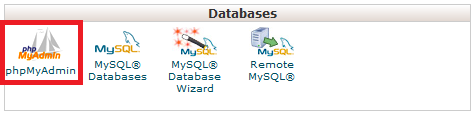
Step 1 - Log into cPanel and click on phpMyAdmin. Use this guide instead for Plesk Hosting.
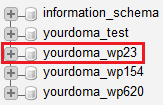
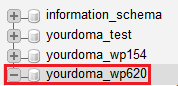
Step 2 - Click on the Database you want to clear comments from (if you have multiple databases, you'll need to find the name of the correct one).
Step 3 - Click on the SQL tab

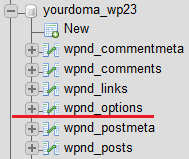
Step 4 - Take note of the name of the options table
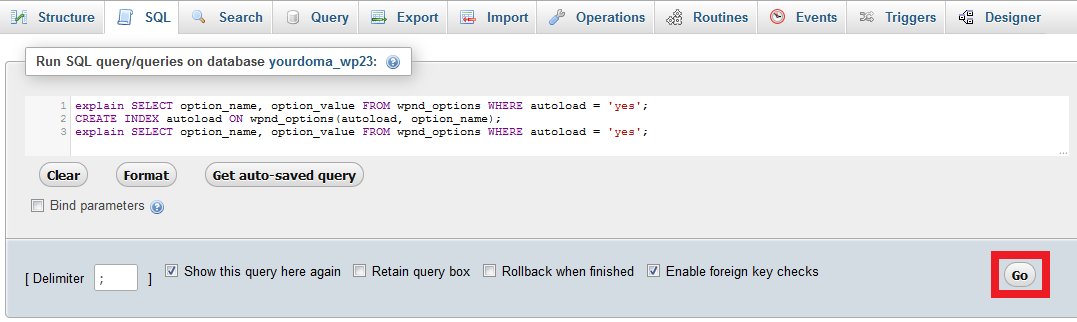
Step 5 - Add in the below code. Make sure to replace 'wpnd_options' on all 3 lines with the name of your options table. Click Go to start the clean up.
explain SELECT option_name, option_value FROM wpnd_options WHERE autoload = 'yes';
CREATE INDEX autoload ON wpnd_options(autoload, option_name);
explain SELECT option_name, option_value FROM wpnd_options WHERE autoload = 'yes';
Step 6 - Click OK to confirm the action.
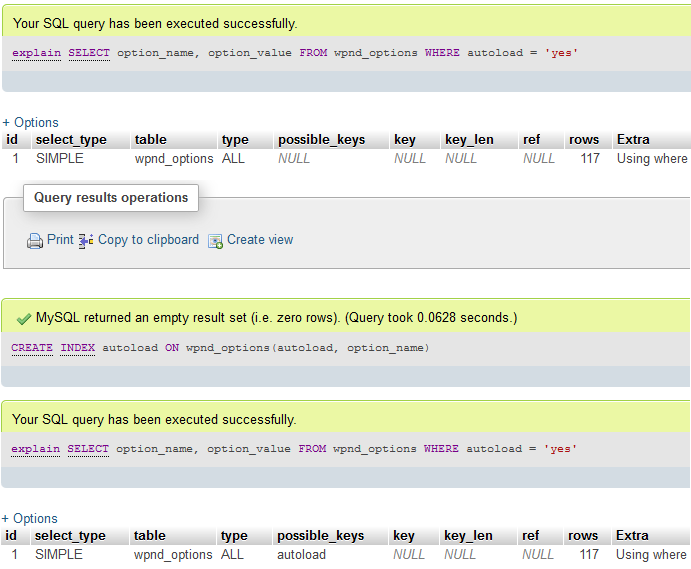
Once it's done, you'll see a screen that looks like this. For larger databases, you may need to wait a few minutes before this completes.
Clear Unapproved WordPress Comments
Step 1 - Log into cPanel and click on phpMyAdmin. Use this guide instead for Plesk Hosting.
Step 2 - Click on the Database you want to clear comments from (if you have multiple databases, you'll need to find the name of the correct one).
Step 3 - Click on the SQL tab.
Step 4 - Take note of the name of the comments table.
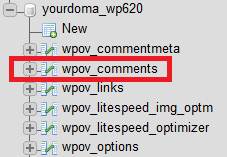
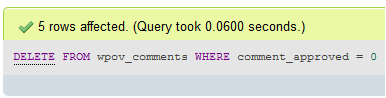
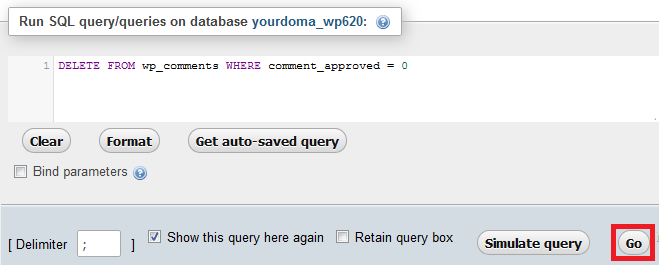
Step 5 - Add in the below code. Make sure to replace 'wpov_comments' with the name of your comments table. Click Go to start the clean up.
DELETE FROM wpov_comments WHERE comment_approved = 0
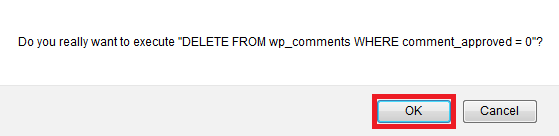
Step 6 - Click OK to confirm the action.
Once it's done, you'll see a screen that looks like this. For larger databases, you may need to wait a few minutes before this completes.